How to Set Up Trae
This article introduces how to set up Trae, including installing Trae on your PC, completing required settings, and developing your projects with Trae.
Step 1: Install and Launch Trae
Visit Trae’s official website and download Trae to your PC.
Click the Trae icon to launch the application.
Upon first launch, the following screen will appear:
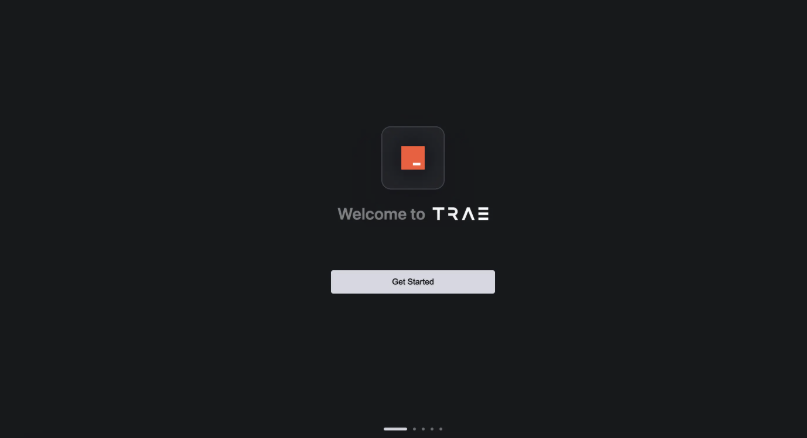 Preview of the initial setup screen
Click the Get Started button to begin the setup process.
Step 2: Select a Theme and Language
Choose a theme from Dark, Light, or DeepBlue.
Select a language from English or 简体中文 (default language is English).
You can change the theme and language anytime in the Settings Center.
Click the Continue button to proceed.
Step 3: Import Configurations from VS Code or Cursor
If you have previously set up VS Code and/or Cursor on your PC, you can select Import from VSCode or Import from Cursor.
This will import extensions, settings, and keybindings from these IDEs into Trae, allowing you to quickly transition to Trae.
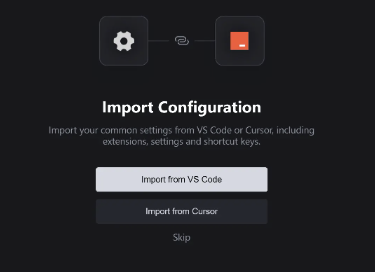 Preview of the import screen
Once imported, your configurations will be ready to use in Trae.
Step 4: Install Trae Commands
Installing Trae’s shell commands allows you to execute tasks faster via the terminal. For example:
- Use
traeto quickly launch Trae. - Use
trae my-react-appto open a project in Trae.
Steps to add commands:
- Click the Install ‘trae’ command button.
- A pop-up window will appear. Click OK.
- Enter your Mac login password when prompted and click OK again.
- Trae will request administrator permission to install shell commands.
Step 5: Log In to Trae
You need to log in to access Trae’s AI assistant features.
You can log in using:
- Your Google account
- Your GitHub account
- Your email registered with Trae
If you don’t have an account, create one to proceed.
Click Log in to open the login screen.
Preview of the login screen
Once logged in, you’ll be directed to the Trae IDE home interface.
Step 6: Start Developing with Trae
You can start developing your projects in Trae in the following ways:
Open an existing project:
- Open an existing folder on your PC.
- Clone a Git repository (refer to “Manage projects” for details).
Create a new project:
- Use Trae’s AI assistant to create a project from scratch (refer to “Builder” for more details).
Start developing efficiently with Trae today!